
Reviewed · PHOTOGRAPHY SESSIONS
New York City’s Iconic Sights: 3-Hour Photography Tour
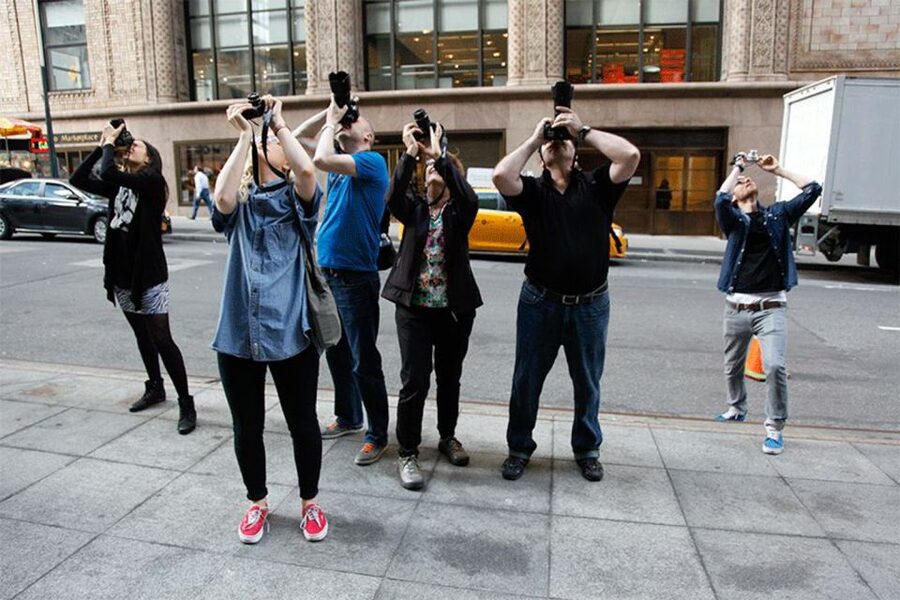
Manhattan becomes your photography classroom on this three-hour walking tour, where Rockefeller Center, Radio City Music Hall, the Empire State Building, and Central Park give you plenty of material to work with. You are not just ticking off sights. You are learning how to frame them, find strong angles, and make familiar buildings look more personal.
I like the small groups of no more than eight, which gives you a fair chance to ask questions and get help with your own camera. I also like the practical focus: lines, angles, and building shots are useful skills you can keep using long after the tour ends. The drawback is the pace. You will use the subway and cover several areas, so comfortable shoes and a willingness to move quickly matter.
In This Review
- Key points to know before you book
- A photography lesson with Manhattan as the subject
- Starting at 34th and Madison
- Rockefeller Center and the challenge of familiar landmarks
- Radio City Music Hall and the value of architectural detail
- The Empire State Building from changing angles
- Subway travel keeps the route broad, but adds effort
- Central Park and the Manhattan skyline
- What you will learn during the three hours
- Is $125 a fair price?
- Who should book this New York photo tour?
- Practical advice for getting better photos
- Should you book it?
- FAQ
- How long is the photography tour?
- What landmarks are included?
- Where does the tour meet?
- Who leads the tour?
- Is the tour suitable for beginners?
- How large is the group?
- Is subway travel part of the route?
- Is subway fare included?
- Is the tour wheelchair accessible?
- Is camera rental provided?
- Are meals and gratuities included?
- Can you cancel for a full refund?
Key points to know before you book
- Your camera becomes the reason to explore Midtown and Central Park, not just a way to record the stops.
- Rockefeller Center, Radio City Music Hall, and the Empire State Building provide different lessons in scale, symmetry, and perspective.
- Central Park offers skyline views, giving you a chance to photograph Manhattan from a wider and less enclosed setting.
- A professional photographer leads the group, with guide Zim specifically associated with the experience.
- The group is capped at eight, a useful size for personal camera advice without the feel of a private tour price.
- The route uses the NYC Subway, and the accessibility information is inconsistent, so wheelchair users should not book this activity.
A photography lesson with Manhattan as the subject
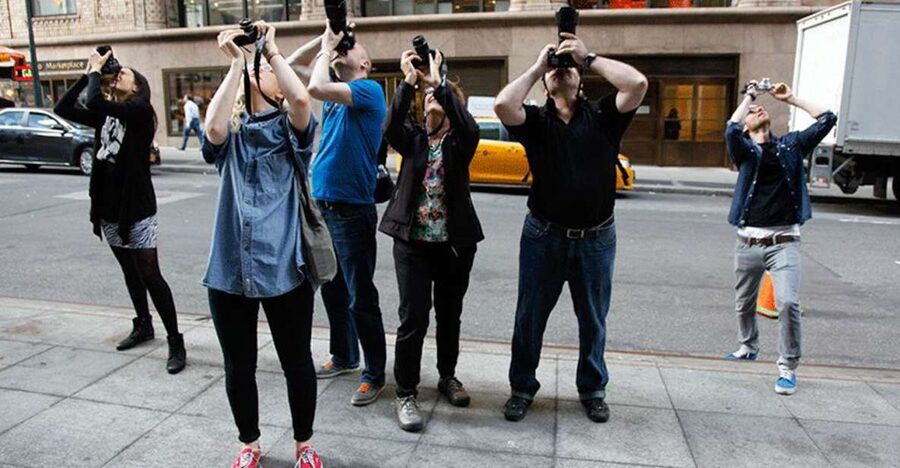
At $125 per person, this is not the cheapest way to see Midtown. You are paying for more than a sightseeing walk, though. The main value comes from having a working photographer explain how to approach difficult city subjects, then give you time to try the technique yourself.
That matters in New York. The sights are famous, but famous does not mean easy to photograph. Tall buildings can look flat, crowded streets can distract from the subject, and strong midday light can wash out detail. A guide who helps you think about lines, angles, and composition can turn a quick snapshot into a much stronger image.
The tour suits all levels of experience. If you use a phone or a simple compact camera, you can still apply the lessons. If you carry a more advanced camera, you can ask more technical questions and work on your own settings. The supplied information does not promise a particular camera system or formal classroom session, so expect instruction while walking and shooting rather than a long indoor workshop.
The strongest praise has focused on the guide’s ability to explain photography clearly and offer useful help with setting up shots. One participant expected to come away with three to five good photographs and ended up with more. That is a sensible way to judge this outing. You are not guaranteed a portfolio, but you should finish with a better eye for buildings and a handful of photos you would not have made alone.
A few more New York City picks to weigh up
- NYC Professional Photoshoot and Walking Tour with Private Guide
★ 5.0 · 608 reviews - New York Icon Photography Tour led by a Local Photographer
★ 5.0 · 155 reviews - New York: 1-hour Photoshoot in Iconic Locations
★ 5.0 · 101 reviews
Starting at 34th and Madison
The meeting point is at 34th and Madison, a practical Midtown starting area. You should arrive ready to walk, with your camera accessible and your clothing suited to the forecast. This is not a slow stroll with long pauses at every monument. It is described as fast-paced, and the schedule has to fit several major locations into three hours.
Your guide begins by helping you approach the city as a photographer. Look for repeated lines in building facades, strong verticals, corners that create depth, and angles that make a familiar place feel less ordinary. These ideas are simple, but they are useful because New York gives you endless examples close together.
A small group makes a real difference at this point. With eight people or fewer, the photographer can usually see what you are trying to do and offer a quick correction. In a large group, advice often becomes general. Here, you have a better chance to ask why one position works better than another.
The meeting point also means you should plan your day around the tour rather than treating it as a casual add-on. The route covers several Midtown sights and Central Park, with subway travel between areas. Allow extra time before the start so you are not rushing in from another attraction.
Rockefeller Center and the challenge of familiar landmarks
Rockefeller Center is one of the tour’s best teaching settings because it combines open public space, strong architecture, and many clean geometric patterns. You can work with symmetry, repeating windows, vertical lines, and the relationship between people and large structures.
The point is not simply to photograph the center from the most obvious spot. Your guide can show you how a small change in position affects the image. Move too close, and the building may feel cramped. Stand too far back, and the subject can lose force. Looking up can exaggerate height, while a straighter viewpoint can make the architecture feel more balanced.
This is where the lesson on lines and angles becomes concrete. You may find that the best photo is not the one facing the landmark head-on. A diagonal walkway, a framed view between buildings, or a low viewpoint can give the picture more energy.
Rockefeller Center also rewards patience, but time is limited. You may not get long to test every idea. That is part of the tradeoff. The tour gives you guidance across several locations, not unlimited shooting time at one site.
Radio City Music Hall and the value of architectural detail
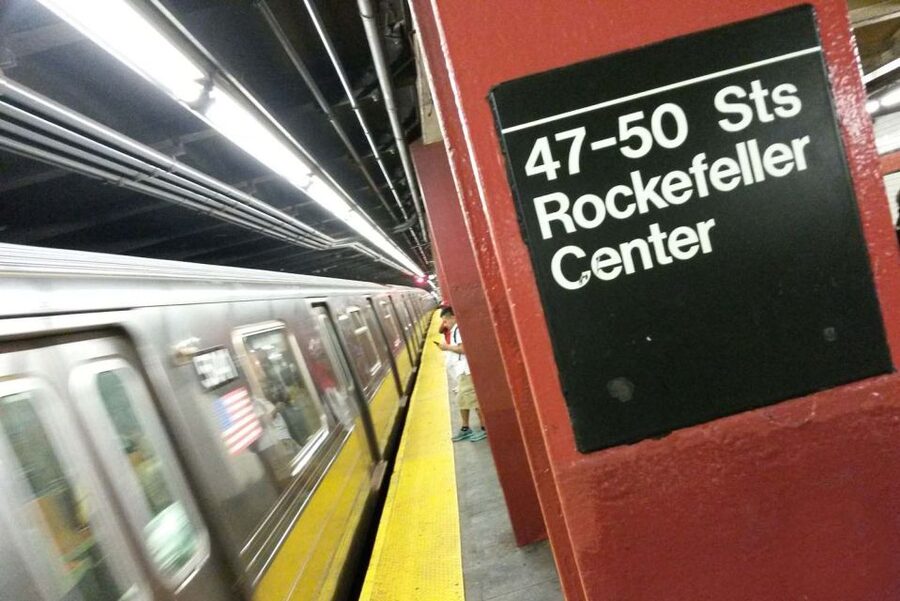
Radio City Music Hall brings a different subject to the route. Its details and strong exterior form can help you move from broad building shots to tighter compositions. Instead of trying to include the entire structure, you can look for shapes, signs, edges, and repeated design elements.
This stop is useful for learning to edit what you see. New York puts visual information everywhere, and a photograph can quickly become cluttered. A professional guide can help you decide what belongs in the frame and what should be left out.
You should also expect the city itself to affect your work. Pedestrians, traffic, changing light, and limited standing space are part of photographing Manhattan. The goal is not to remove every distraction. It is to make choices that keep attention on the building or detail you want to show.
The tour’s format works well here because the advice is immediate. You can make a frame, hear a suggestion, and try again. That practical cycle is more useful than a list of camera tips you never test.
Another side of New York City for the same day:
- NYC: SUMMIT One Vanderbilt Tickets
★ 4.7 · 51,195 reviews - NYC: 9/11 Memorial & Museum Timed-Entry Ticket
★ 4.8 · 31,428 reviews - NYC: Empire State Building Tickets – Observatory & Museum
★ 4.7 · 25,757 reviews - New York City: Statue of Liberty & Ellis Island with Ferry
★ 4.6 · 18,683 reviews
The Empire State Building from changing angles
The Empire State Building is a natural highlight, but it is also a useful reminder that the most famous subject is not always the easiest. Its height can make composition tricky, especially when nearby buildings compete for attention.
The guide’s focus on angles should help you think about how much of the tower to include and how to use surrounding streets and structures. A close viewpoint can emphasize height. A wider frame can show the building in its Midtown setting. Lines from neighboring buildings may either support the subject or pull your eye away from it.
This stop also gives you a chance to work with scale. A person, street, or lower building can make the Empire State Building feel even larger. That kind of comparison often communicates size better than a photo of the tower alone.
Do not expect a private session at each landmark. The tour must keep moving, and the route includes several major sights. If you already know one location matters most to you, tell the guide early and use the available time wisely.
Subway travel keeps the route broad, but adds effort
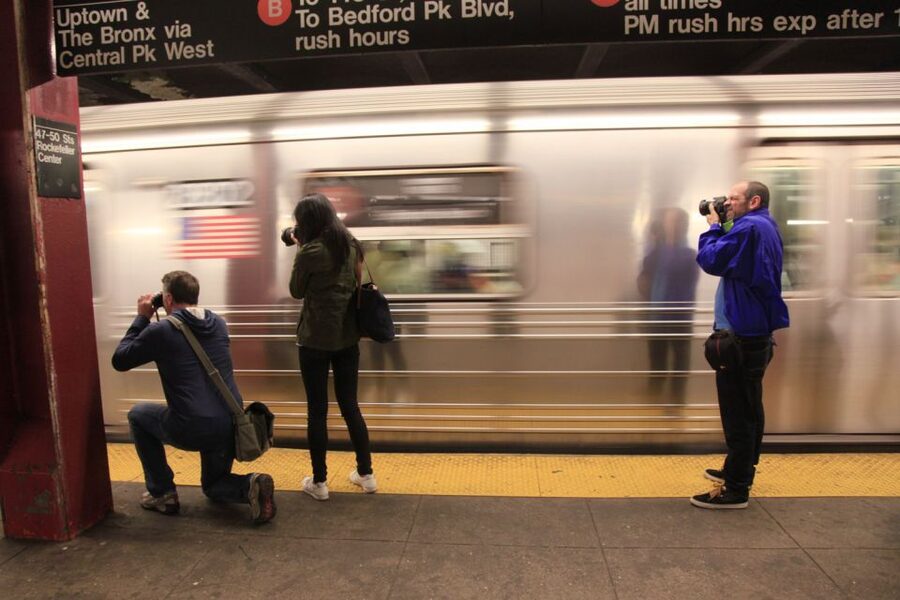
The NYC Subway is part of the experience, not just a way to fill a gap between stops. It lets the group connect Midtown with Central Park during a short outing, making a wider selection of subjects possible within three hours.
The tradeoff is comfort and timing. You will need to walk to stations, enter and exit the system, and keep your camera secure while moving. A shoulder bag or camera setup that is easy to manage will be more practical than equipment that takes time to pack and unpack.
There is an important fare detail to check. The activity information says subway fare is included, but a participant found that it was not provided on the day. I would carry a contactless payment card or enough money for subway fare just in case. It is a small cost, but being prepared prevents a needless delay at the station.
The subway also explains the accessibility warning. Although one part of the information describes the activity as wheelchair accessible, the specific instructions say it is not accessible because of subway use, and wheelchair users are listed as unsuitable for the tour. Treat the latter guidance as the practical rule and confirm directly before booking if mobility is a concern.
Central Park and the Manhattan skyline
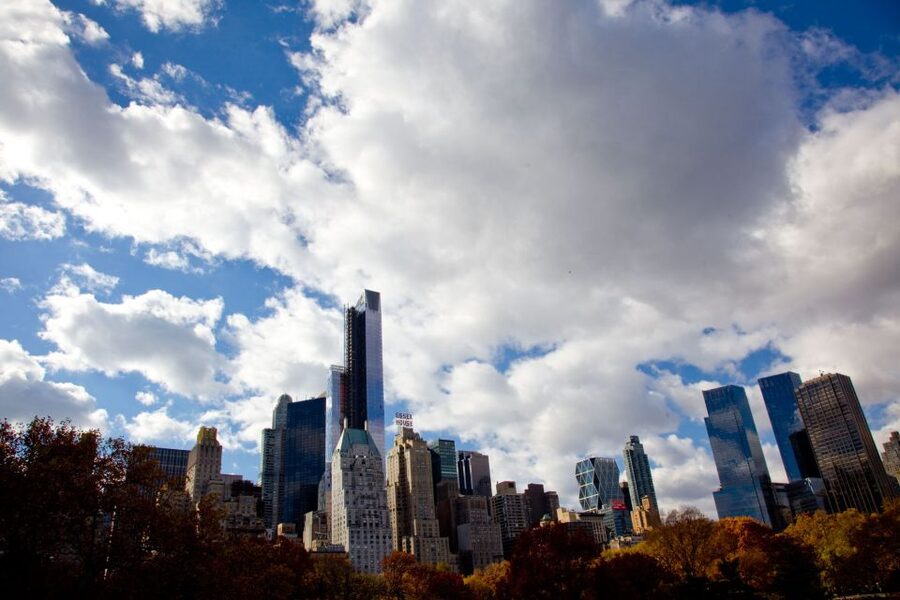
Central Park changes the visual rhythm of the tour. After close urban views and tall facades, you get more space and the chance to photograph the Manhattan skyline from the park.
This is one of the most appealing parts for anyone who wants variety in a short photo outing. The skyline can be photographed as a broad composition, while the park provides foreground shapes and distance. You are no longer aiming the camera straight up at a building. You are considering layers, balance, and the way the city sits within a larger view.
The park stop also gives the guide room to explain how to use a wider scene. You might work with open space, tree branches, pathways, or other natural framing elements, but the exact views depend on the route, weather, and available time. The important lesson is learning to connect foreground and background rather than treating the skyline as a flat row of towers.
Weather matters here. The tour runs in rain, so bring suitable clothing and protect your camera. A wet day can change reflections and color, but you should not count on ideal conditions. Dress for comfort first, then plan your equipment around the forecast.
What you will learn during the three hours
The instruction centers on practical composition rather than a long technical lecture. You will work with:
- Lines that guide the eye through a frame
- Angles that change the feeling of tall buildings
- Perspective and scale around major landmarks
- Framing busy city scenes so the subject remains clear
- Skyline compositions from Central Park
- Setting up a shot instead of taking the first obvious picture
The value of these lessons is that they apply to almost any city. You can use them later with bridges, churches, towers, streets, and ordinary buildings. The guide is not simply showing you where to point the camera. You are being encouraged to notice how position and framing change the result.
The tour is suitable for beginners because you do not need advanced photographic knowledge to benefit. At the same time, beginners should not expect the instructor to operate their camera for them. Bring a camera you can use comfortably, and know how to access its basic controls before you arrive.
Camera rental is not included. Meals are not included either, although the three-hour format makes this easy to handle before or after the outing. Gratuities are also separate, so include a tip in your budget if the guide gives you a useful and enjoyable lesson.
Is $125 a fair price?
The $125 price makes the most sense for someone who wants both sightseeing and instruction. If you only want to see Rockefeller Center, Radio City Music Hall, the Empire State Building, and Central Park, a regular self-guided walk will cost less. You can visit these places on your own and take photographs without paying a guide.
You are paying for the photographer’s eye, the route planning, and the chance to receive help while you shoot. The value rises if you are new to city photography, unsure how to photograph buildings, or visiting for a short time and want a focused activity.
The small group is another reason the price can work. With no more than eight participants, you are not lost in a crowd. The strongest experience would be a particularly small departure, as one participant found with only two people, because that allows more time to set up shots and ask questions.
Still, do not book this expecting a private photo session at $125. The tour covers several locations, uses the subway, and moves at a quick pace. You are buying a shared lesson with personal moments, not unlimited one-to-one coaching.
Who should book this New York photo tour?
I would recommend it to:
- First-time photographers who want direct guidance
- Visitors who enjoy landmarks but want a more active way to see them
- Camera users who struggle with architecture and tall buildings
- People staying in Manhattan for a short visit
- Anyone who prefers a small group to a large sightseeing crowd
- Photographers who want both close city views and a Central Park skyline scene
I would think twice if you want a relaxed walk, have limited stamina, dislike subway travel, or need guaranteed wheelchair access. The pace and transport method are central to the outing, not minor details.
The tour is also less suitable if your only goal is one carefully planned photograph. The route spreads its time across several famous locations. You will get more from it if you enjoy learning, experimenting, and accepting that some shots will work better than others.
Practical advice for getting better photos
Bring comfortable clothing suited to the weather. A rainy-day departure is possible, and the tour does not stop simply because conditions are less than perfect. Keep your camera protected but ready to use, since the group will be moving between locations.
Use equipment you already understand. There is no camera rental, and a complicated setup can slow you down. If you use a phone, clean the lens before starting and make sure you have enough battery for three hours of shooting.
Think about the tour as a chance to practice, not a test. Try the guide’s suggestion, then make a second frame from a different position. Buildings reward small changes, and the best lesson may come from seeing how two nearly identical photographs differ.
Finally, carry a way to pay subway fare. The published details include subway fare, but the experience has not always worked that way in practice. A payment card gives you a simple backup.
Should you book it?
Book this tour if you want a compact, active introduction to photographing New York and value personal instruction more than the lowest possible sightseeing cost. The high praise centers on clear guidance, friendly teaching, and unexpectedly strong photographs, with Zim named as a particularly well-liked guide.
Skip it if you need a slow pace, guaranteed accessibility, or a private shoot at one landmark. For the right person, $125 buys a useful mix of Manhattan sights, Central Park views, subway-based movement, and camera advice you can keep using after the tour ends.
FAQ
How long is the photography tour?
The tour lasts three hours.
What landmarks are included?
The route includes Rockefeller Center, Radio City Music Hall, the Empire State Building, sites in Central Park, and a chance to photograph the Manhattan skyline from Central Park.
Where does the tour meet?
The meeting point is at 34th and Madison in New York City.
Who leads the tour?
A professional photographer serves as the instructor and guide. Zim is a photographer-guide associated with this experience.
Is the tour suitable for beginners?
Yes. The photography workshop is appropriate for all levels of photographic experience.
How large is the group?
Groups are limited to no more than eight participants.
Is subway travel part of the route?
Yes. The tour uses the NYC Subway to move between parts of the route.
Is subway fare included?
The activity information says subway fare is included, but one participant found that fare was not provided. Carry a contactless card or another way to pay as a precaution.
Is the tour wheelchair accessible?
No. Although one section of the information uses accessible wording, the specific guidance says the tour is not wheelchair accessible because it uses the subway, and wheelchair users are listed as unsuitable.
Is camera rental provided?
No. You need to bring your own camera. Camera rental is not included.
Are meals and gratuities included?
No. Meals and gratuities are not included in the $125 price.
Can you cancel for a full refund?
Yes. You can cancel up to 24 hours in advance for a full refund.
Just listed around New York City
- NYC: Little Shop of Horrors Off-Broadway Ticket5 reviews
- Private NYC Airport Transfer: LGA to Manhattan – Up to 5★ 3.6 · 5 reviews
- New York City Tour in German★ 4.5 · 5 reviews
- New York: Hamilton and Washington Revolutionary Walking Tour★ 5.0 · 5 reviews
- NYC Freedom Tower Private Photo or Video Experience★ 4.0 · 6 reviews
- New York Afternoon Fall Foliage Cruise with Lunch★ 5.0 · 6 reviews
- Brooklyn Walking Tours by Locals: Private & 100% Personalized★ 4.0 · 6 reviews
- Southold Bay Oyster Farm Tour★ 5.0 · 6 reviews
Photography Sessions, compared.
NYC Professional Photoshoot and Walking Tour with Private Guide
Read our review →
New York Icon Photography Tour led by a Local Photographer
Read our review →

Central Park Photography Tour with Local Photographer
Read our review →
Photo sessions in New York with a French-speaking photographer
Read our review →
Your NYC Story in Photos: Custom 2-Hour Tour & Photo Shoot
Read our review →
Browse the lists this tour appears in